


Motor mount, in aluminum
I have been working, ever so slowly, on a larger wheeled robot. My efforts to date have mostly comprised of collecting parts: motors, wheels, gears, a GPS module, various electronics bits, a nifty digital compass, etc. I’ve finally started design and manufacture of various parts to start stitching together everything.
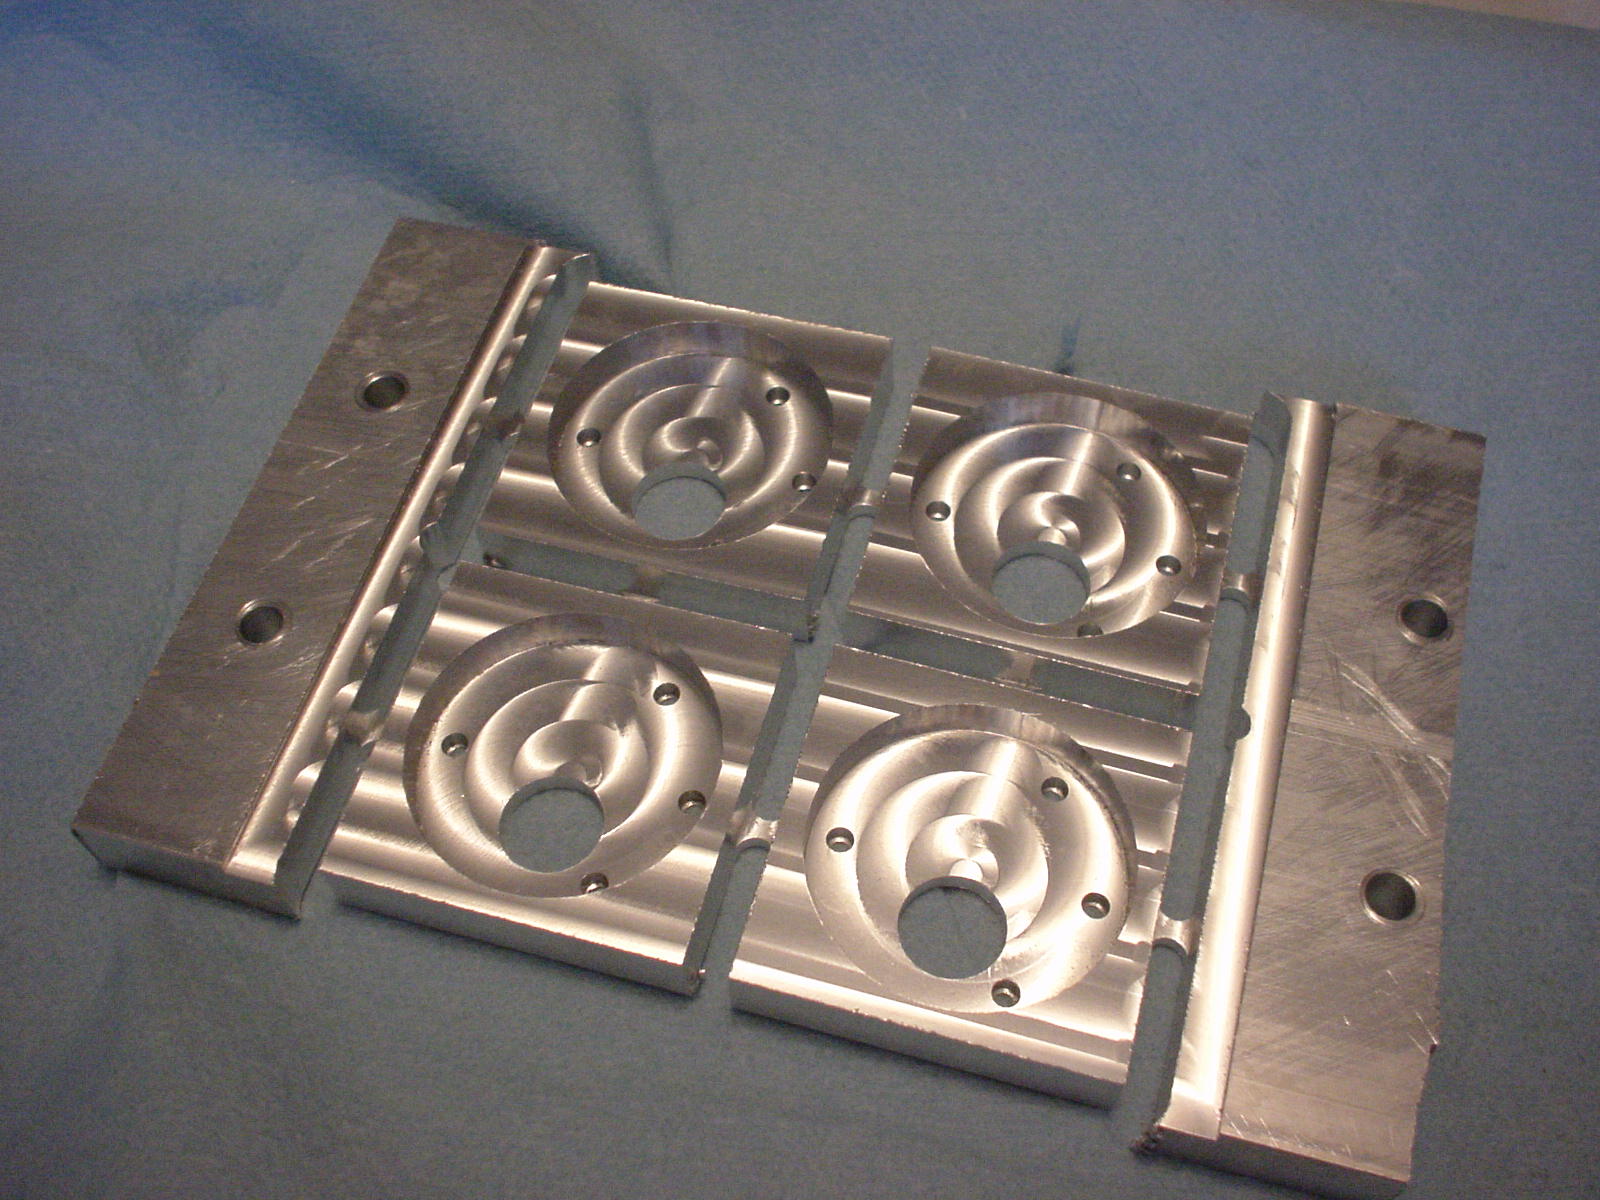
 My first machined part is a bracket to mount the motor (a Lynxmotion model). This picture shows the four brackets I need; one is mounted on a motor, the one in the front-left is finished and the other two need only to have the “tabs” cleaned up.
I designed the part using Inkscape then exported a DXF file and did the machining on my CNC-equipped Sherline (as described in a previous post). You can see the image of the Inkscape design here. This process works quite well for me.
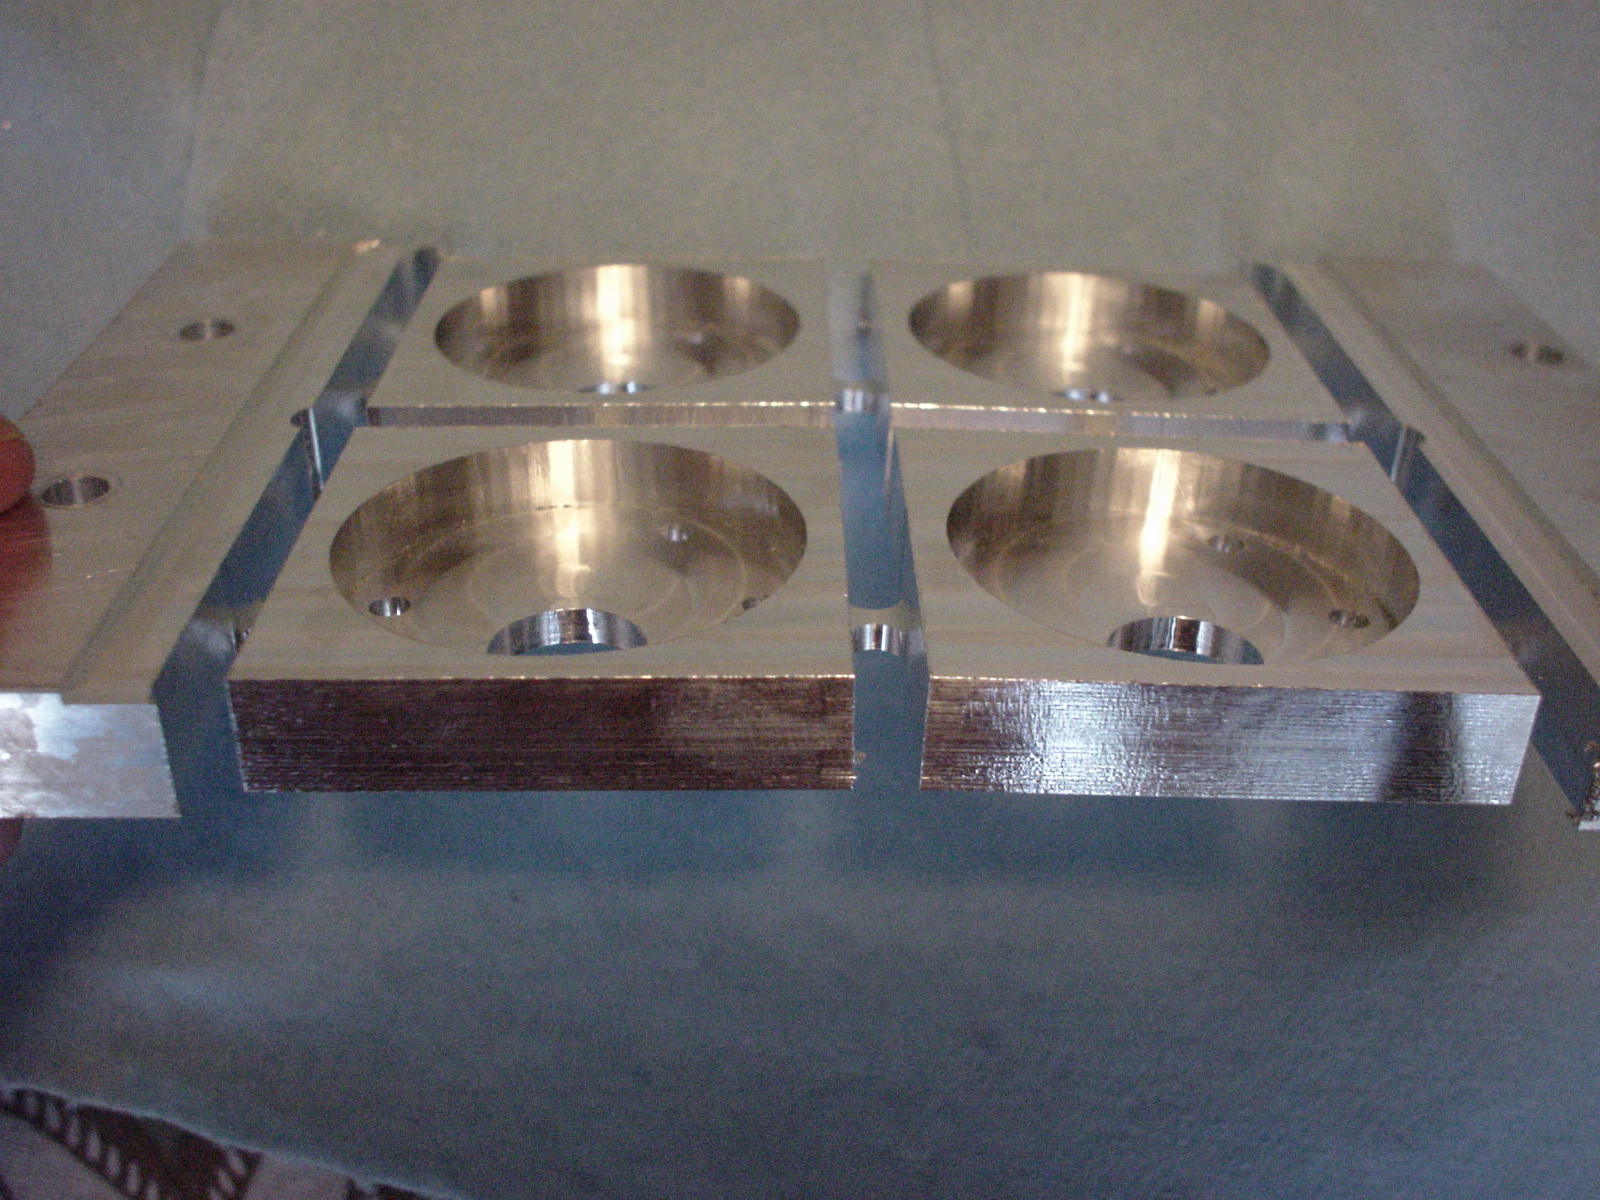
The problem of course is that the design requires “tabs” between the parts in order to be able to hold the whole thing together while machining. I’ve captured a couple of photos here and here to show what it looked like before I cut everything apart.
Next up is the brackets to attach to these mounts. My initial design will take longer to machine though. The idea is to allow each wheel to pivot independently; the bracket is an “L” shape that extends up and over the center of each wheel. It will make more sense when I have some pictures.
Hi Bob
That looks awsome mate.
I have a quick question… How long did it take to “cut” them?
Regards.
Comment by Stig — August 27, 2008 @ 7:09 amStig.
Hi Stig,
Thanks for dropping by! This particular job ran about 4.5 hours of machine time but I didn’t do it all at once. I’m really happy with the results but it does take a long time…
– Bob
Comment by Bob — August 27, 2008 @ 6:09 pmCouldn’t you have bored and drilled the 4 squares by hand in a shorter time than 4.5 hours? There’s no operations on that which would be particularly difficult for a lathe / mill.
Comment by Andy from Workshopshed — August 31, 2008 @ 3:54 amHa ha! Yes Andy I think you are right there are faster and easier ways to make these brackets. As an amateur machinist I am still learning the best ways to make parts. I ran my Sherline desktop mill quite slowly this time as well: 6″ per minute iirc. One of the operations required was to reduce the thickness of the aluminum plate on both sides. I removed 0.0625″ from each side, that took about an hour alone. I find that each new part I make I learn more about my hobby.
Comment by Bob — August 31, 2008 @ 8:34 amStill, quite impressive results for such a small mill.
Comment by Andy from Workshopshed — September 2, 2008 @ 5:08 am